
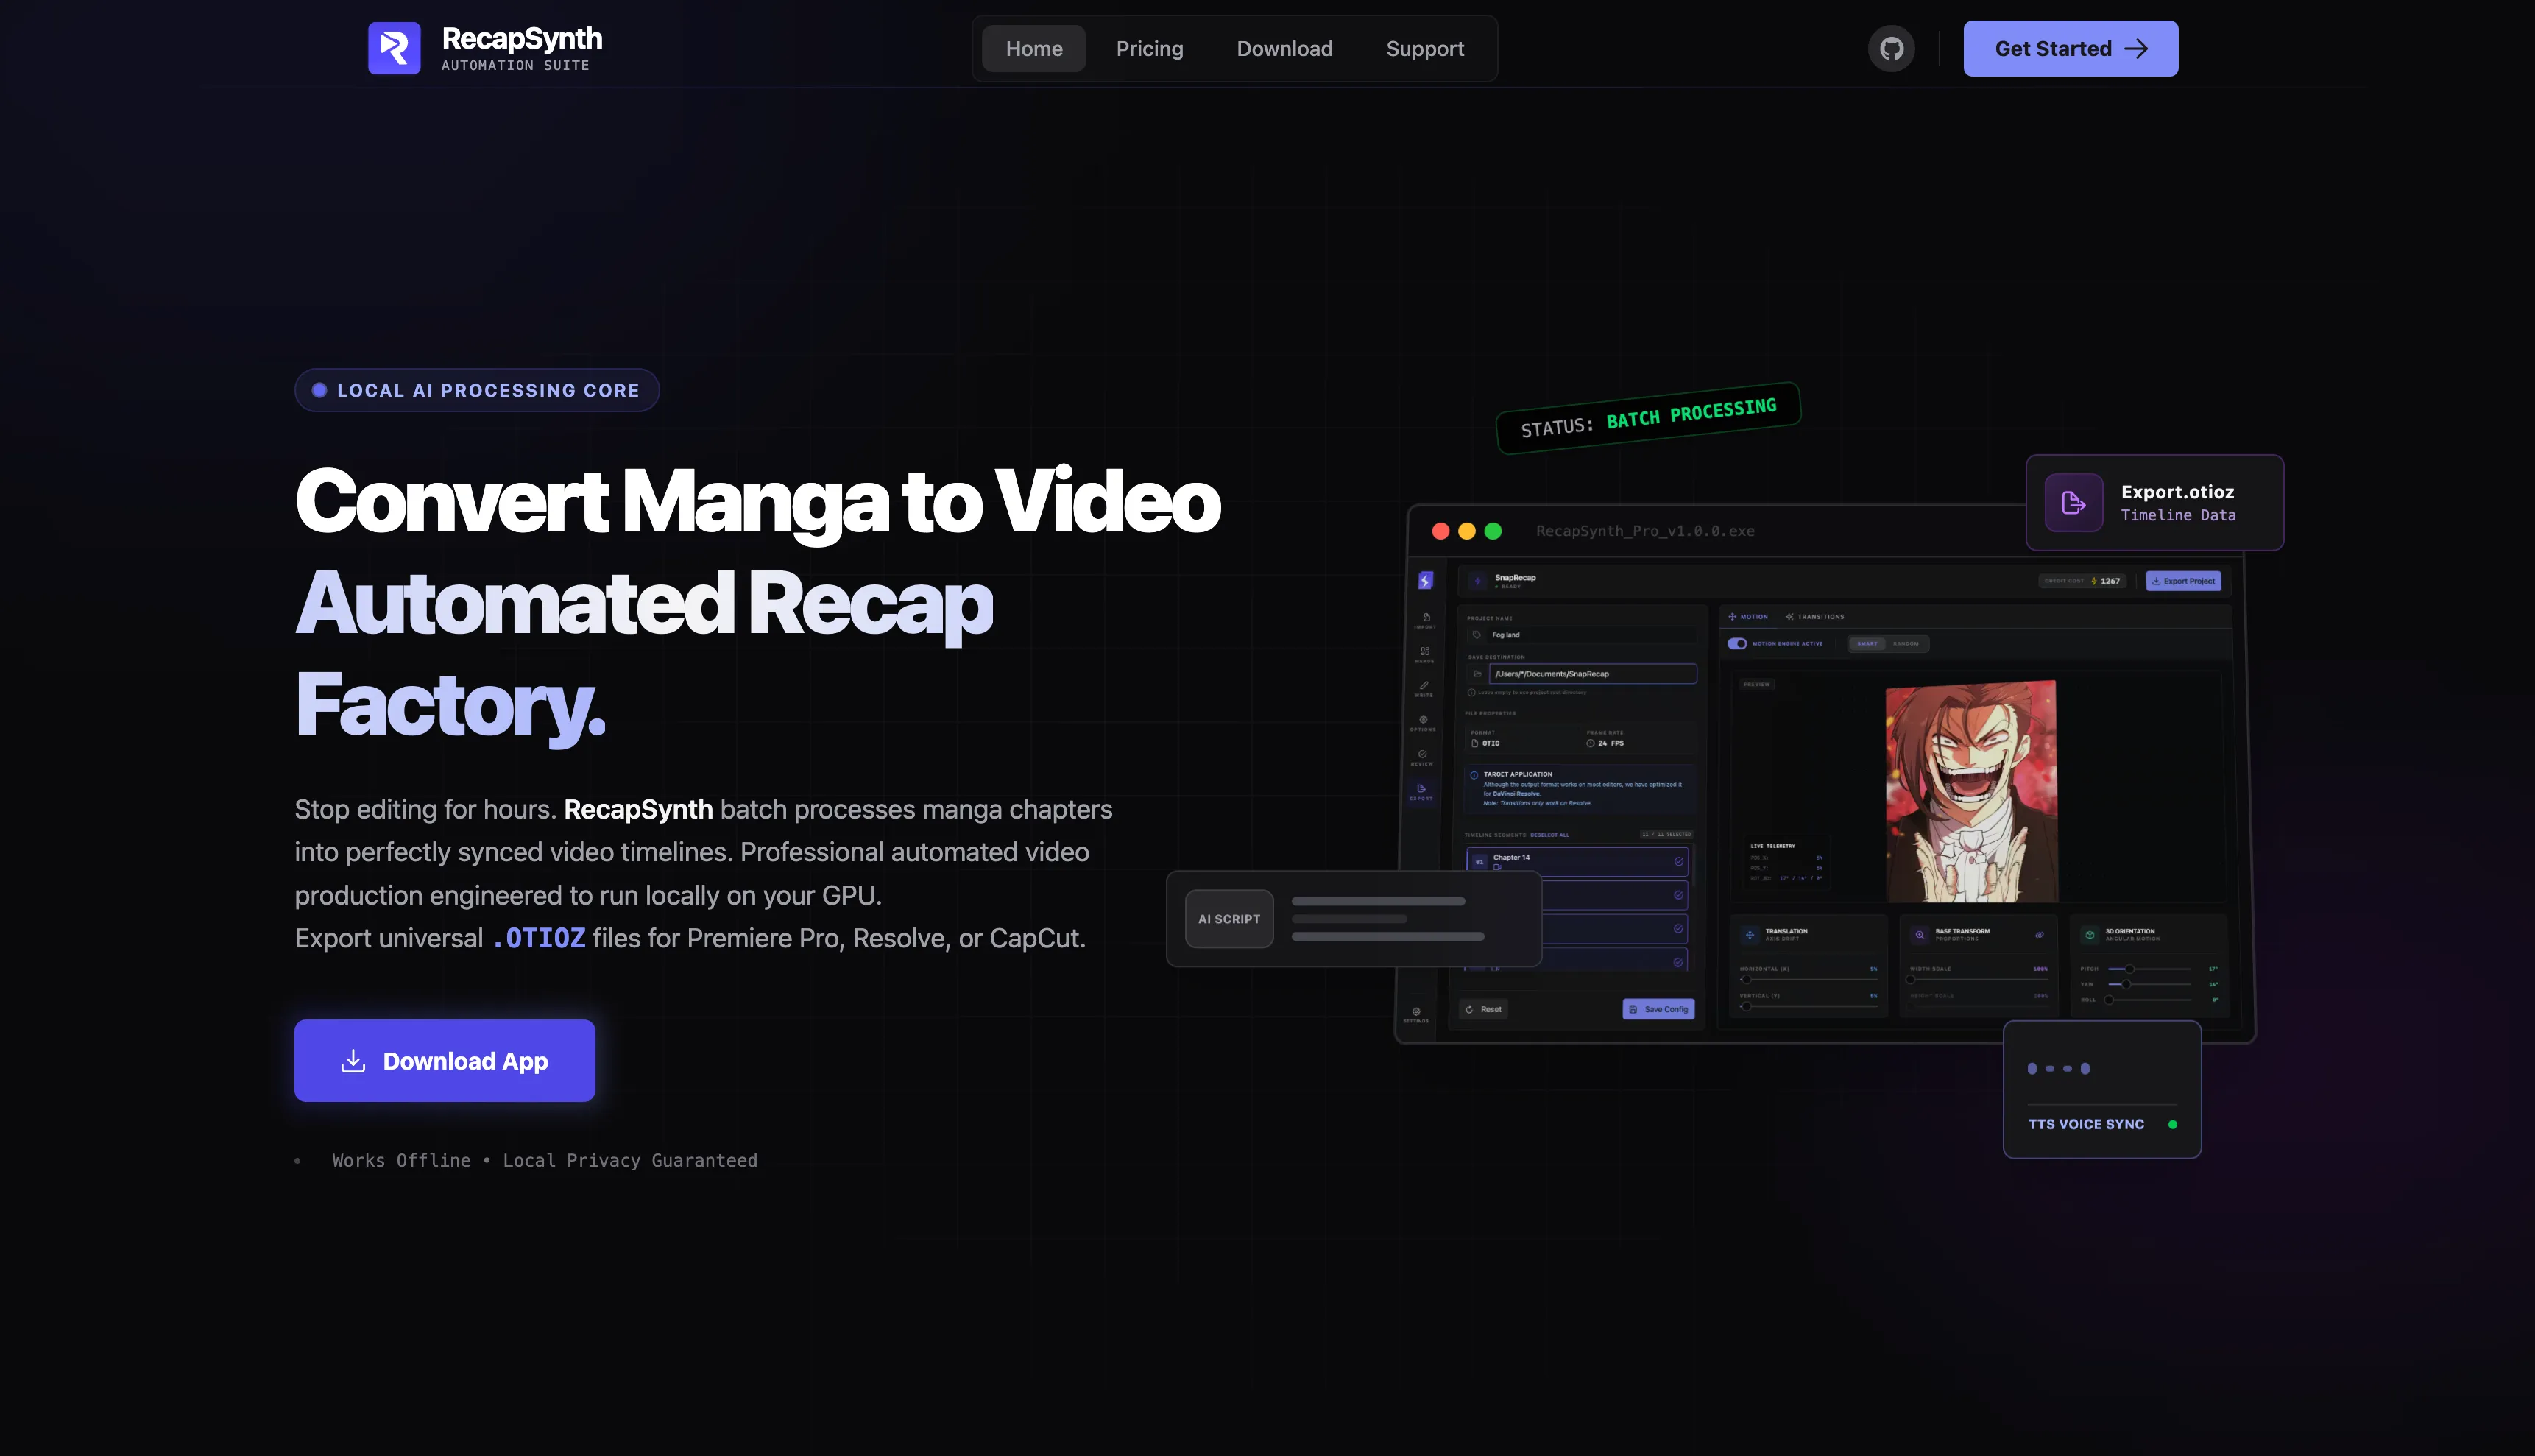
In this walkthrough, you will take a raw folder of manhwa chapter strips and turn it into a clean, voice-synced timeline ready for Premiere Pro, DaVinci Resolve, or CapCut.
Before you begin: Make sure RecapSynth is installed and your local workspace directory has at least
4 GBof free disk space for cached panels and audio renders. Need setup help? Check the installation guide.
1. Create a New Workspace
Launch RecapSynth and click New Project from the home dashboard. Keeping a consistent naming structure makes multi-chapter series much easier to manage later.
- Set Project Name to your series and episode range (for example,
Solo-Leveling-Ch01-05). - Choose an empty Output Directory where sliced panels, transcripts, and XML exports will live.
- Select your target aspect ratio—
16:9 (1920×1080)for standard YouTube recaps or9:16 (1080×1920)for Shorts.
Recommended Project Presets
| Setting | YouTube Long-Form | Shorts / Reels | Notes |
|---|---|---|---|
| Resolution | 1920 × 1080 |
1080 × 1920 |
Upscale sharpens thin linework |
| Frame Rate | 60 fps |
60 fps |
Smooths vertical pan motion |
| Panel Padding | 24 px |
16 px |
Prevents edge clipping on zoom |
| Export Format | .otioz / .xml |
.mp4 / .xml |
Editable NLE timeline bundle |
2. Import Chapters & Extract Panels
Drag your chapter folders directly into the Chapter Ingest dropzone. RecapSynth automatically detects long vertical webtoon strips and slices them along clean whitespace gutters without cutting through character faces or speech bubbles.
- Auto-Stitch: Merges split image chunks into a single continuous canvas before slicing.
- Border Trim: Strips black or white margins automatically so ken-burns pans stay edge-to-edge.
- Duplicate Guard: Flags repeated credits pages or scanlation banners for one-click removal.
Pro Tip: If a chapter uses dark backgrounds between action scenes, switch Gutter Detection from
LighttoAdaptivein the right-hand inspector so dark transitions are sliced accurately.
3. Run OCR & Generate the Recap Script
Once your panels are numbered in sequence, switch to the Script & OCR tab. RecapSynth reads dialogue directly from speech bubbles and groups consecutive panels into narrative scenes.
Tuning Your Narrative Tone
Use a structured prompt preset to keep pacing tight and prevent the AI from summarizing too slowly during fight sequences: