
Installation
This guide covers everything you need to get started with RecapSynth—from downloading the right installer for your system to understanding what happens during first launch.
Downloading & Installing
Section titled “Downloading & Installing”RecapSynth provides native desktop installers for both macOS and Windows:
| Operating System | Installer Format | Extension | Availability |
|---|---|---|---|
| macOS | Disk Image | .dmg |
Supported |
| Windows | Windows Installer | .msi |
Supported |
1
Open the official RecapSynth download page.
2
Select the macOS (.dmg) installer and wait for the download to finish.
3
Open the downloaded
.dmgfile and follow the on-screen installation prompts.
1
Open the official RecapSynth download page.
2
Select the Windows (.msi) installer and wait for the download to finish.
3
Double-click the
.msifile and follow the setup wizard to complete installation.
First Launch: Startup Initialization
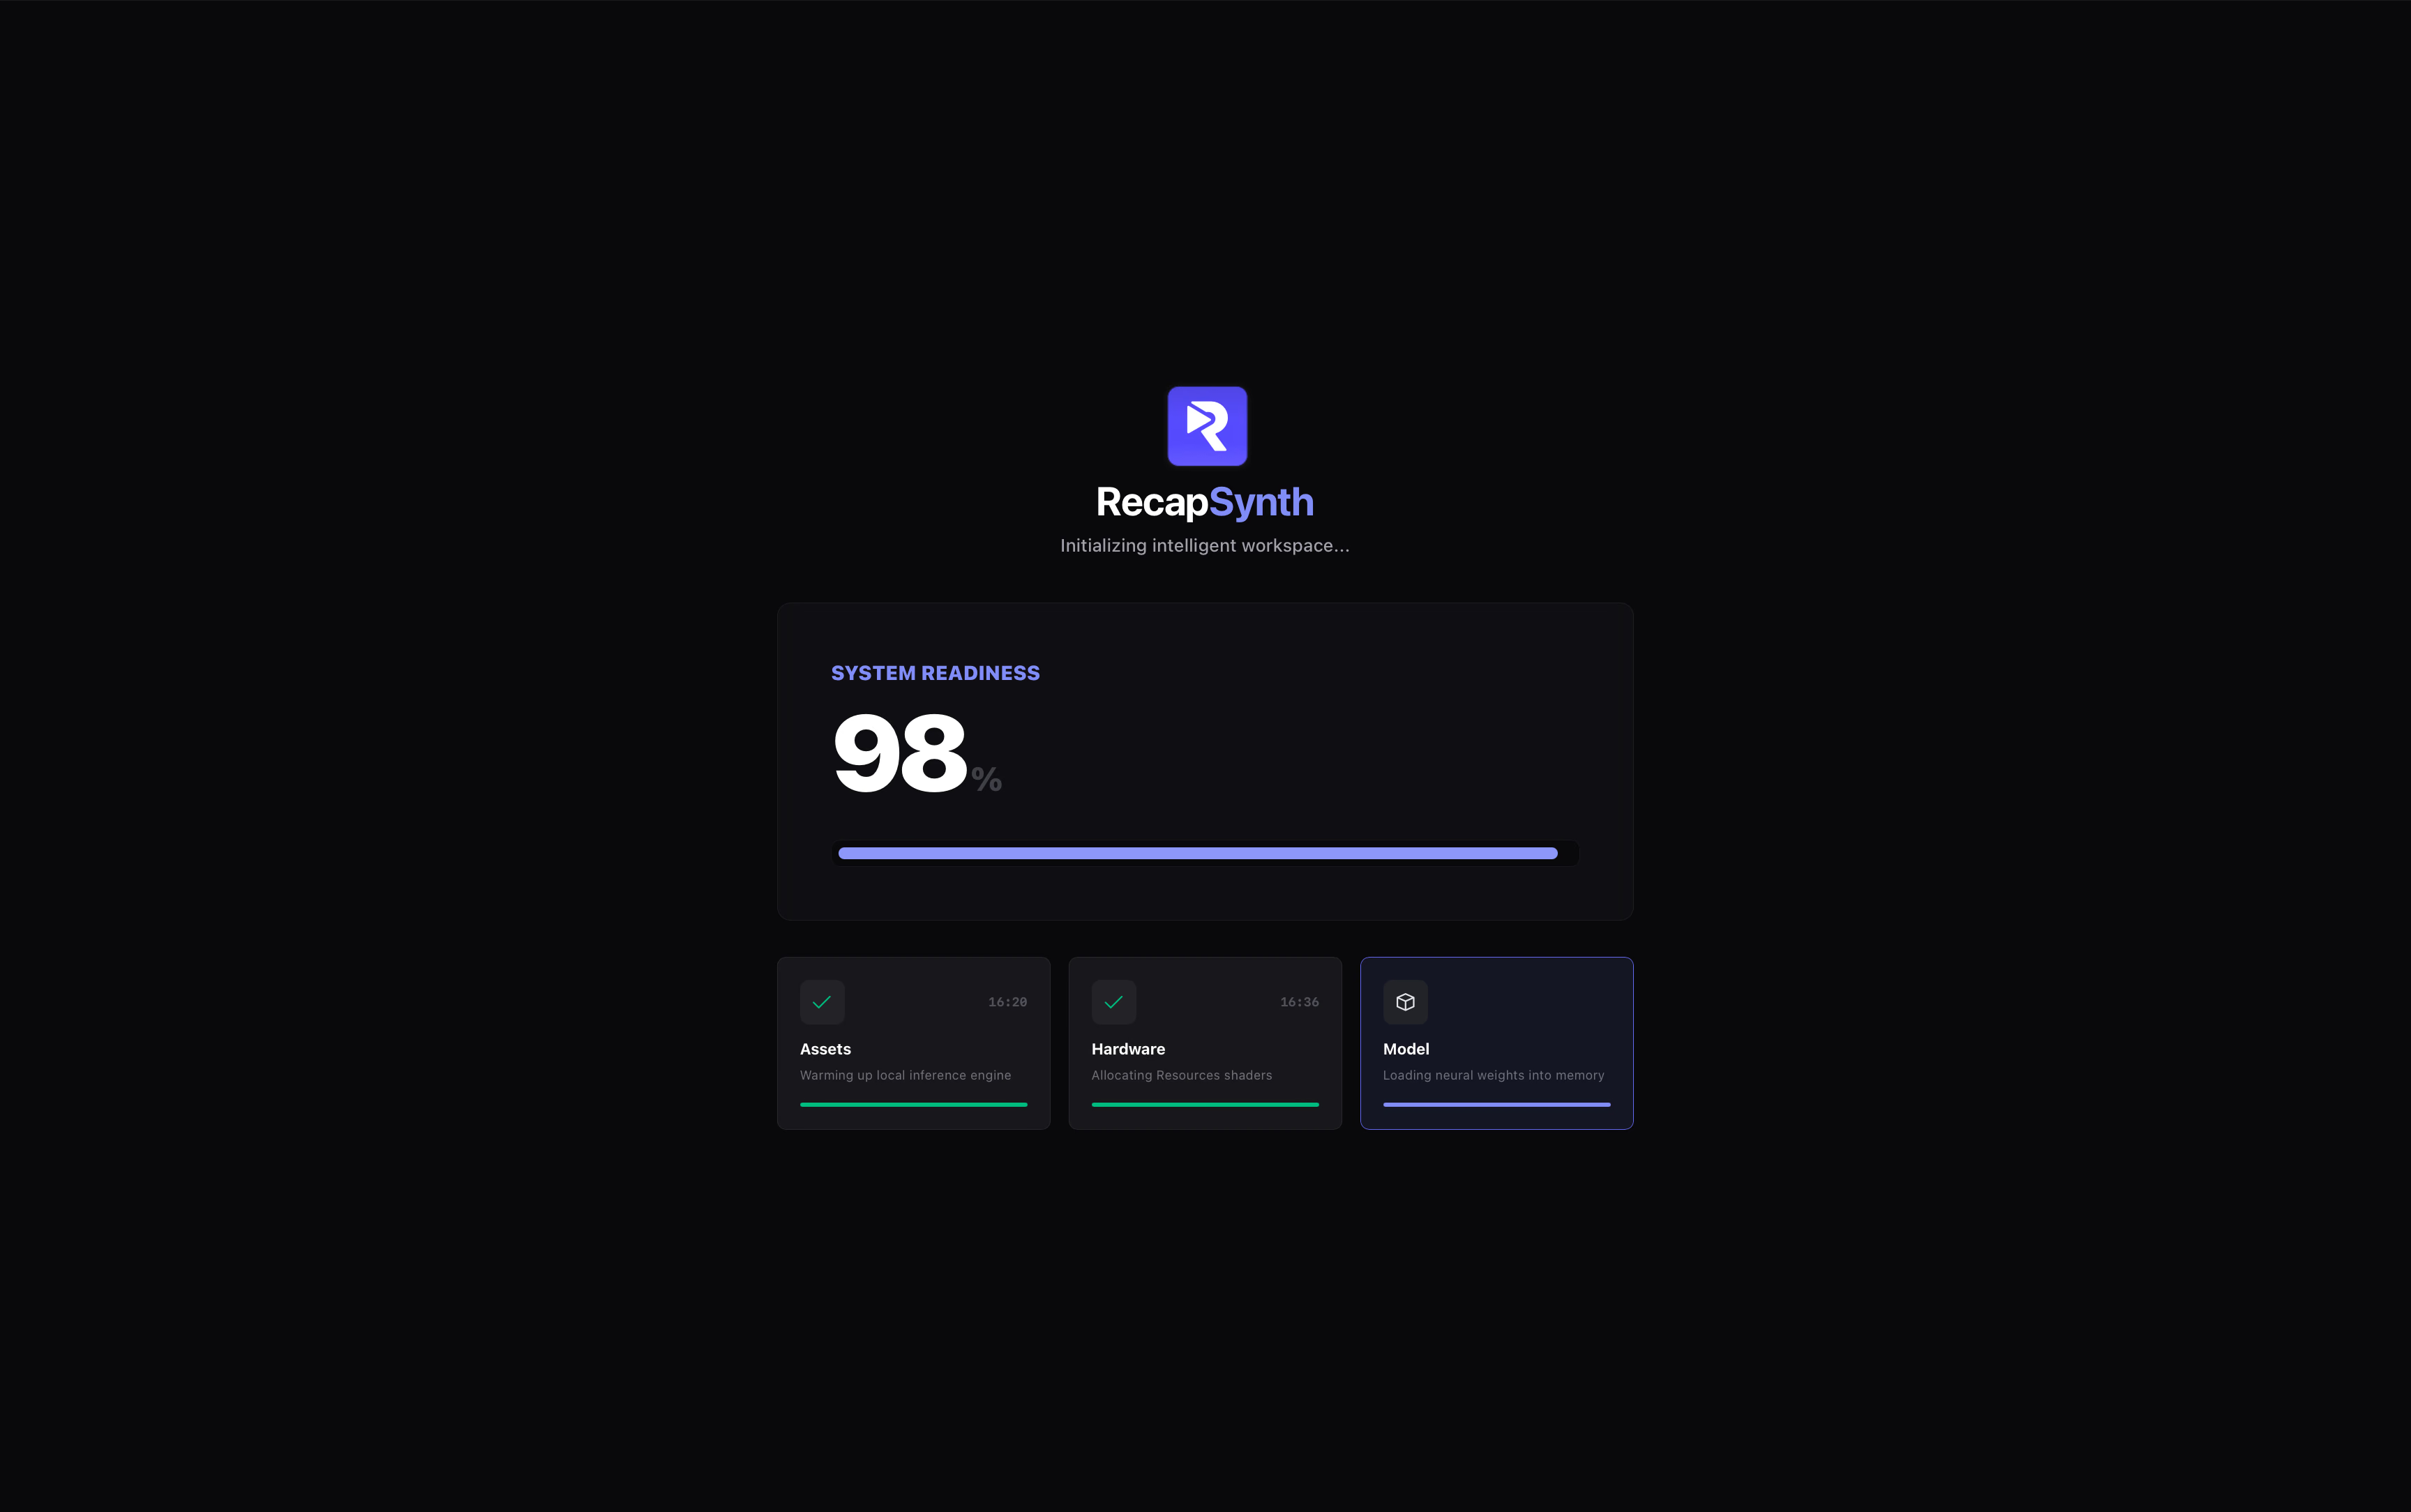
Section titled “First Launch: Startup Initialization”When you launch RecapSynth for the first time, a startup splash screen appears briefly while the local AI workspace prepares to run. Because RecapSynth initializes a local backend service and loads model resources onto your machine, this screen gives you real-time visibility into each stage.
Startup Screen Breakdown
Section titled “Startup Screen Breakdown”Status Header
Displays the RecapSynth logo, the “Initializing intelligent workspace…” message, and a live System Readiness percentage counting up to 100%.
As startup progresses, the three boot stages—Assets, Hardware, and Model—illuminate in sequence:
What to Expect
Section titled “What to Expect”Let initialization finish uninterrupted. Do not force-quit or close RecapSynth while the splash screen is active. On your very first launch, setup typically takes a couple of minutes, after which the splash screen closes automatically and opens the main interface.
After Startup: Sign In
Section titled “After Startup: Sign In”Once the local backend is ready, RecapSynth automatically routes you based on your current session state:
Not Signed In
Opens the Sign In / Register screen so you can log in or create a new RecapSynth account.
Already Signed In
Takes you straight to the Home Screen displaying your Recent Work.
Need help getting into your account?