
Character Grouping
Once your faces are clustered inside each chapter, switch to the Characters tab at the top of the board. On this tab, each card represents an entire chapter cluster, and your goal is to combine matching clusters from different chapters into one Character Group per recurring character.
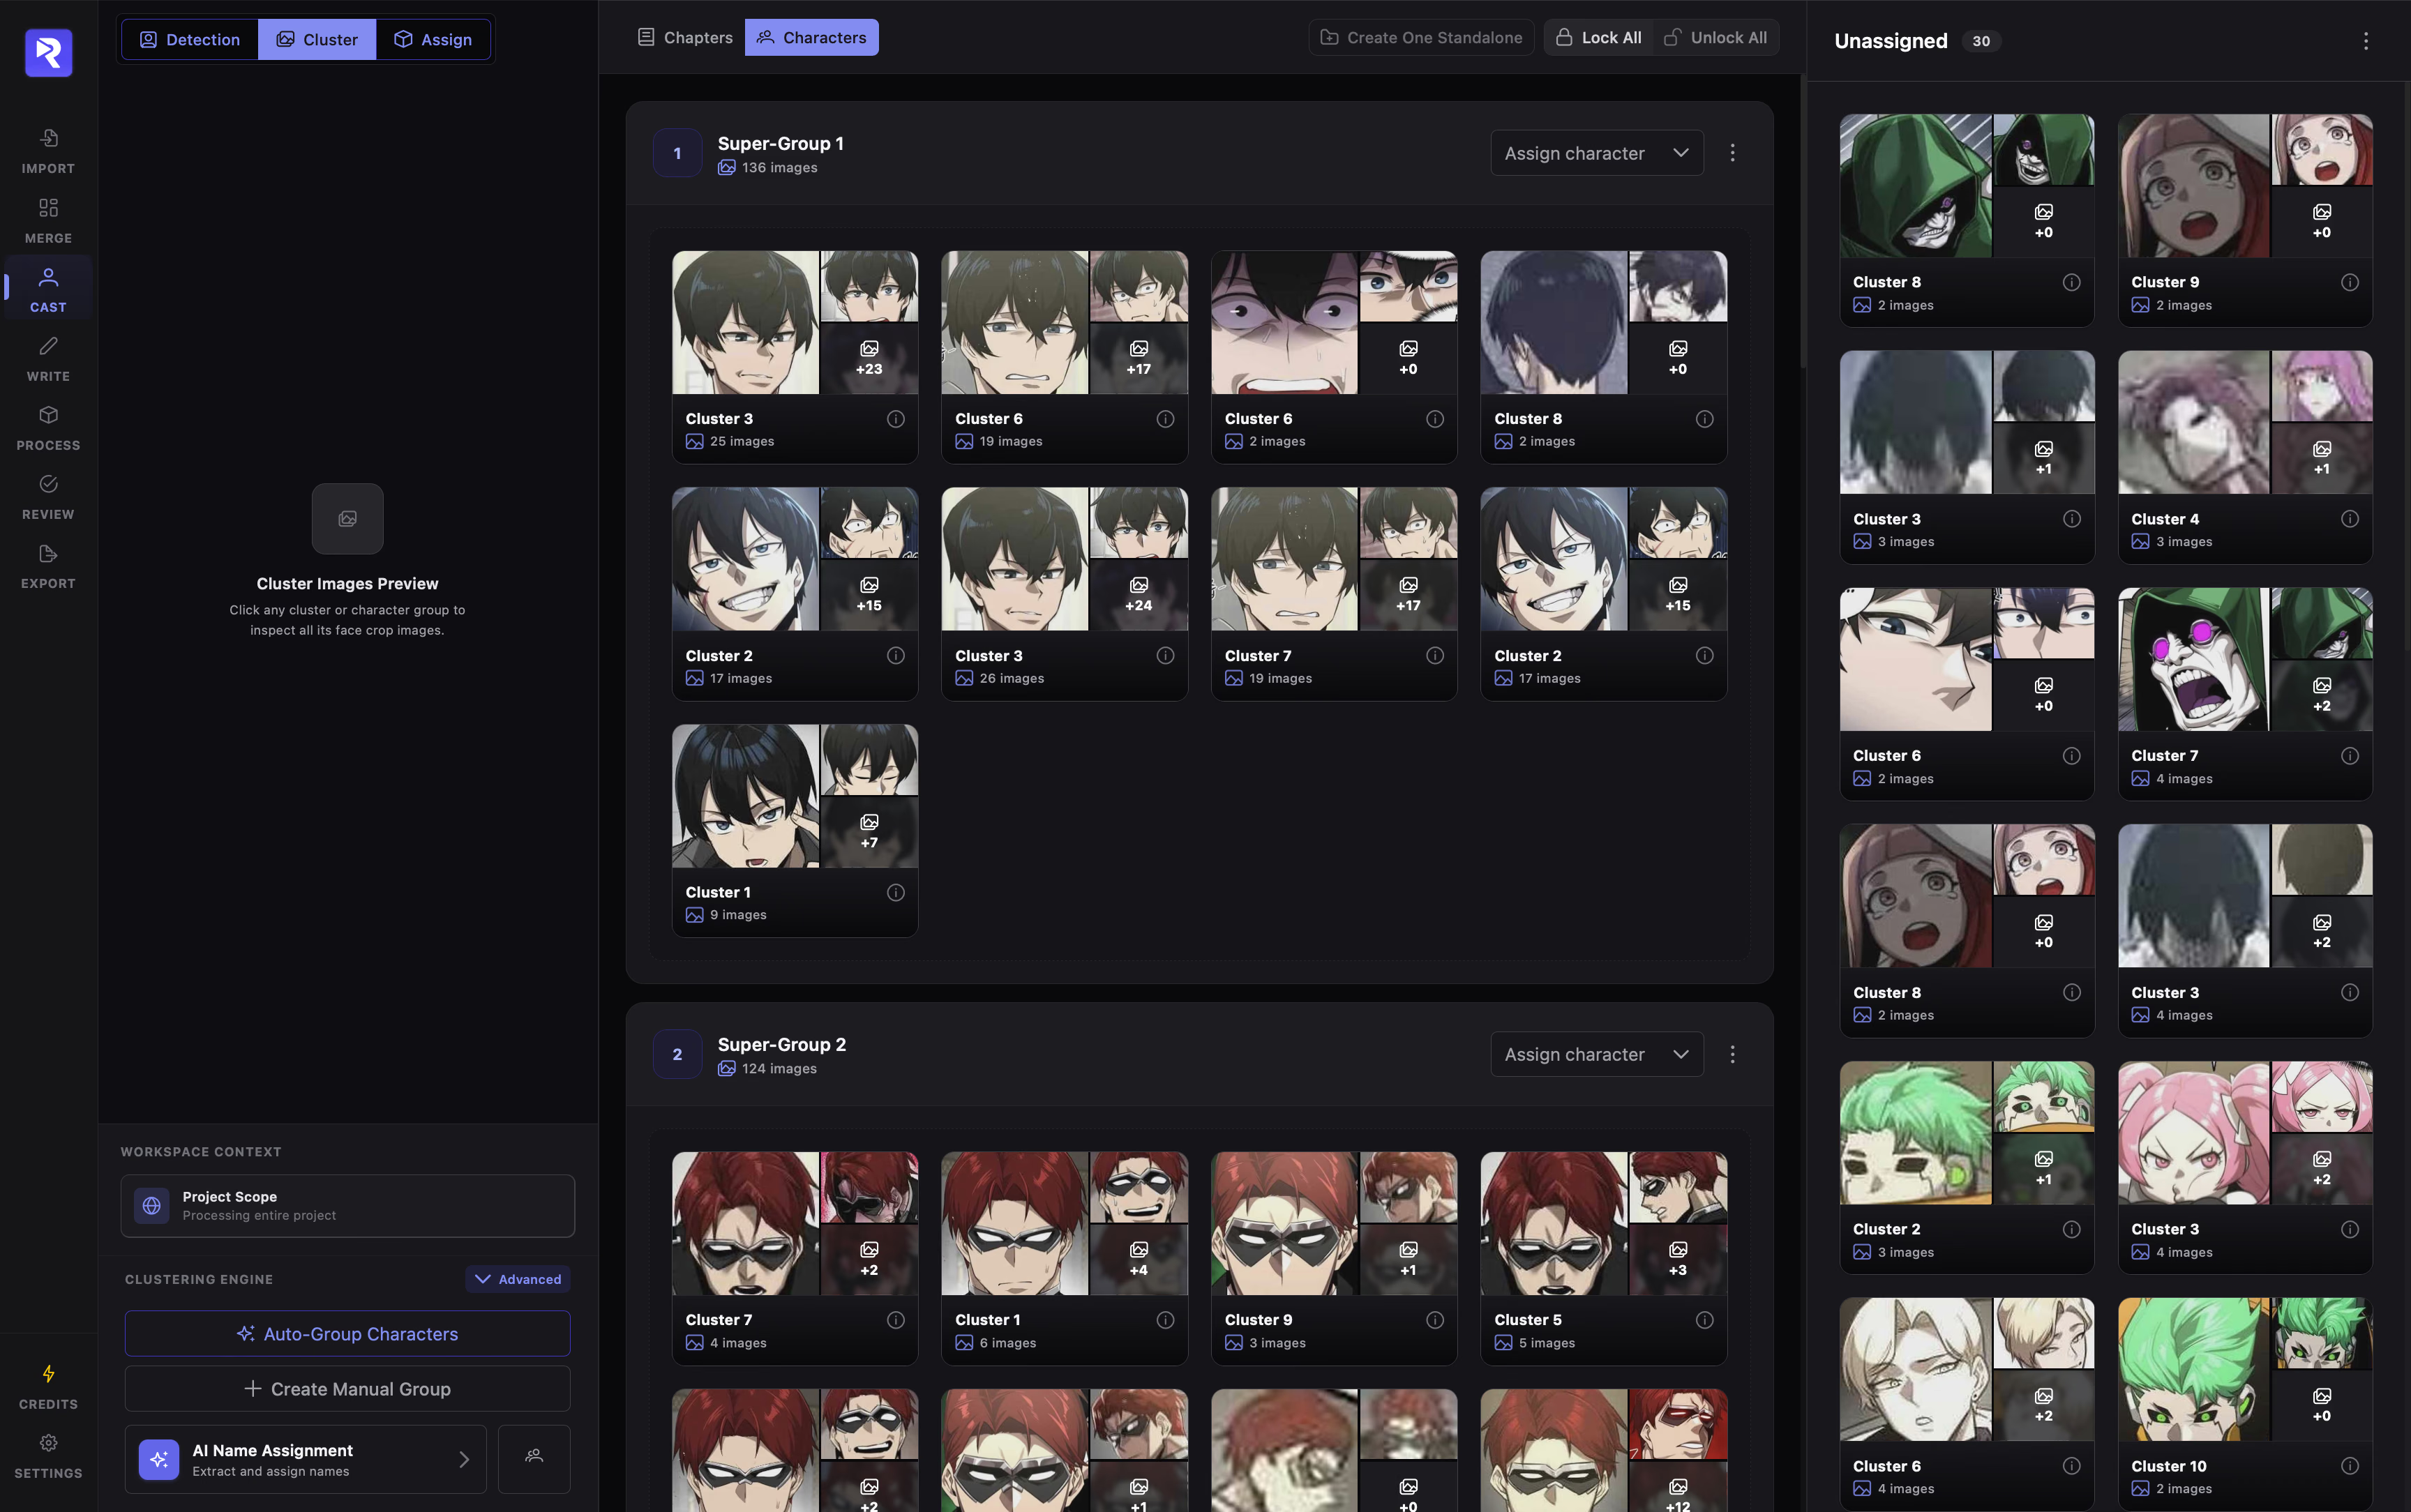
Inspect every face inside a cluster or group, run project-wide AI grouping, or create manual groups.
View, lock, organize, and link project-wide character groups to character profiles.
Holds chapter clusters that have not been placed into a Character Group yet.
1. Group Characters Across Chapters
Section titled “1. Group Characters Across Chapters”Because this tab works across the entire manhwa at once (Project Scope), you do not need to pick a chapter first. Use the Clustering Engine section in the left sidebar to group clusters automatically or build groups by hand:
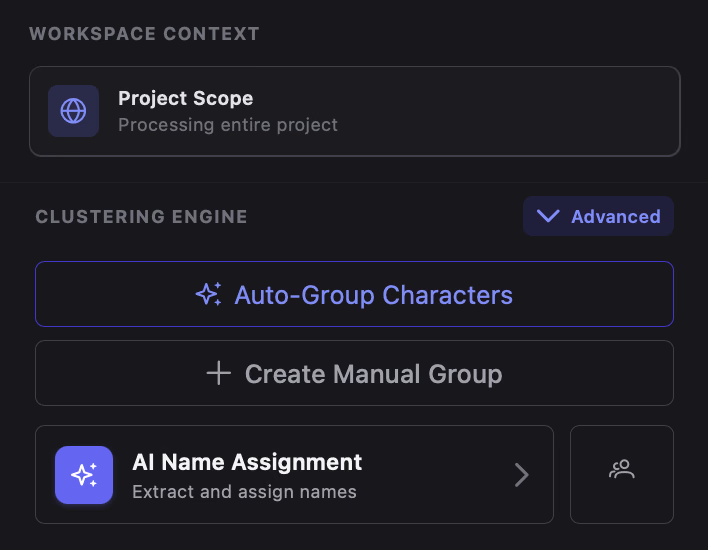
Compares unlocked chapter clusters across every chapter and merges matching looks into unified Character Groups.
Adds an empty Character Group to the board so you can drag specific chapter clusters into it yourself.
- Where unmatched clusters go: Any chapter cluster that does not match other chapters (such as a one-chapter side character or a dramatic redesign) appears in Unassigned on the right.
- Fine-tuning (Advanced): Expand Advanced above Auto-Group Characters to switch the clustering algorithm, adjust Distance (eps) for DBSCAN, or change the minimum cluster count needed to form a group.
2. Inspect All Faces in a Cluster or Group
Section titled “2. Inspect All Faces in a Cluster or Group”Before merging clusters or assigning a character name, you can check every face crop inside them using the Cluster Images Preview at the top left.
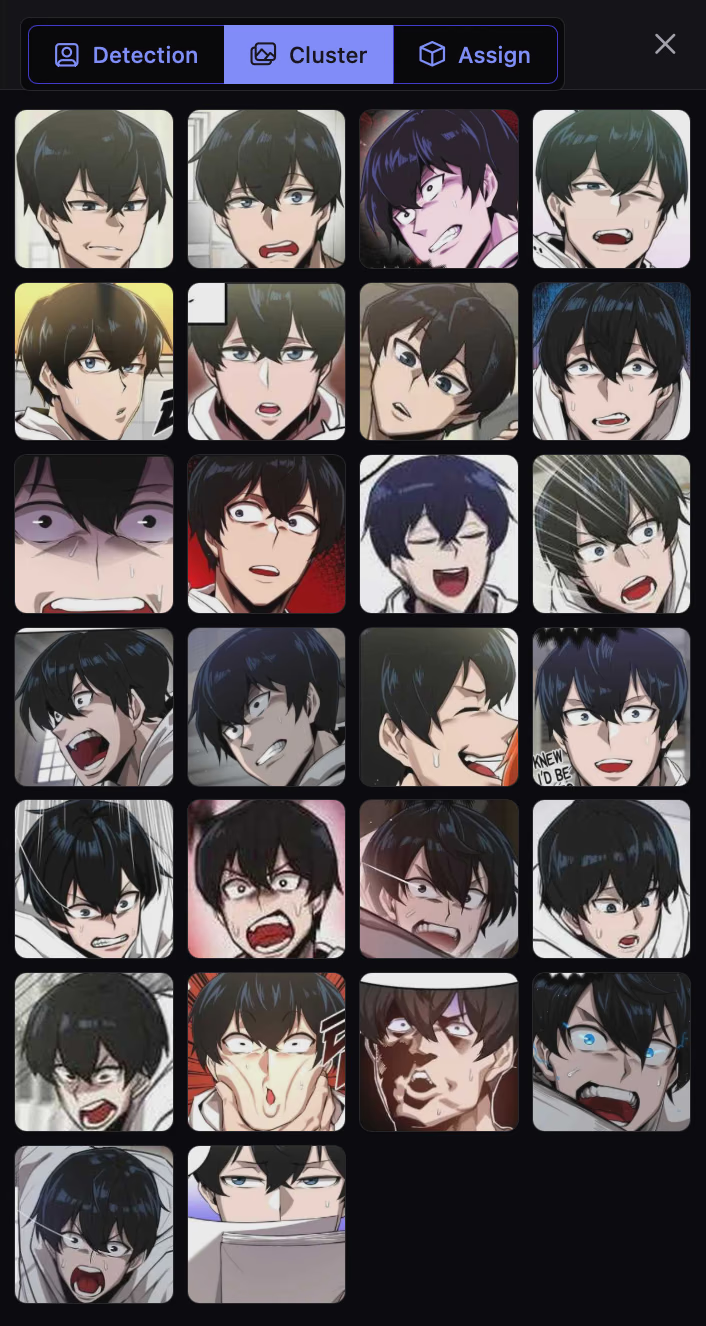
- Preview one chapter cluster: Click any cluster card to display every face thumbnail inside that chapter cluster.
- Preview an entire Character Group: Click the title area of a Character Group header to display all faces combined across every chapter in that group.
- Zoom in on a thumbnail: Click any thumbnail inside the top-left preview grid to open it full-size, or hover the i icon on a cluster card to check its name, source chapter, and image count.
3. Merge, Split & Organize Groups by Hand
Section titled “3. Merge, Split & Organize Groups by Hand”Use drag-and-drop and the selection tools to make final adjustments—for example, merging a character’s new post-timeskip appearance with their earlier chapters.
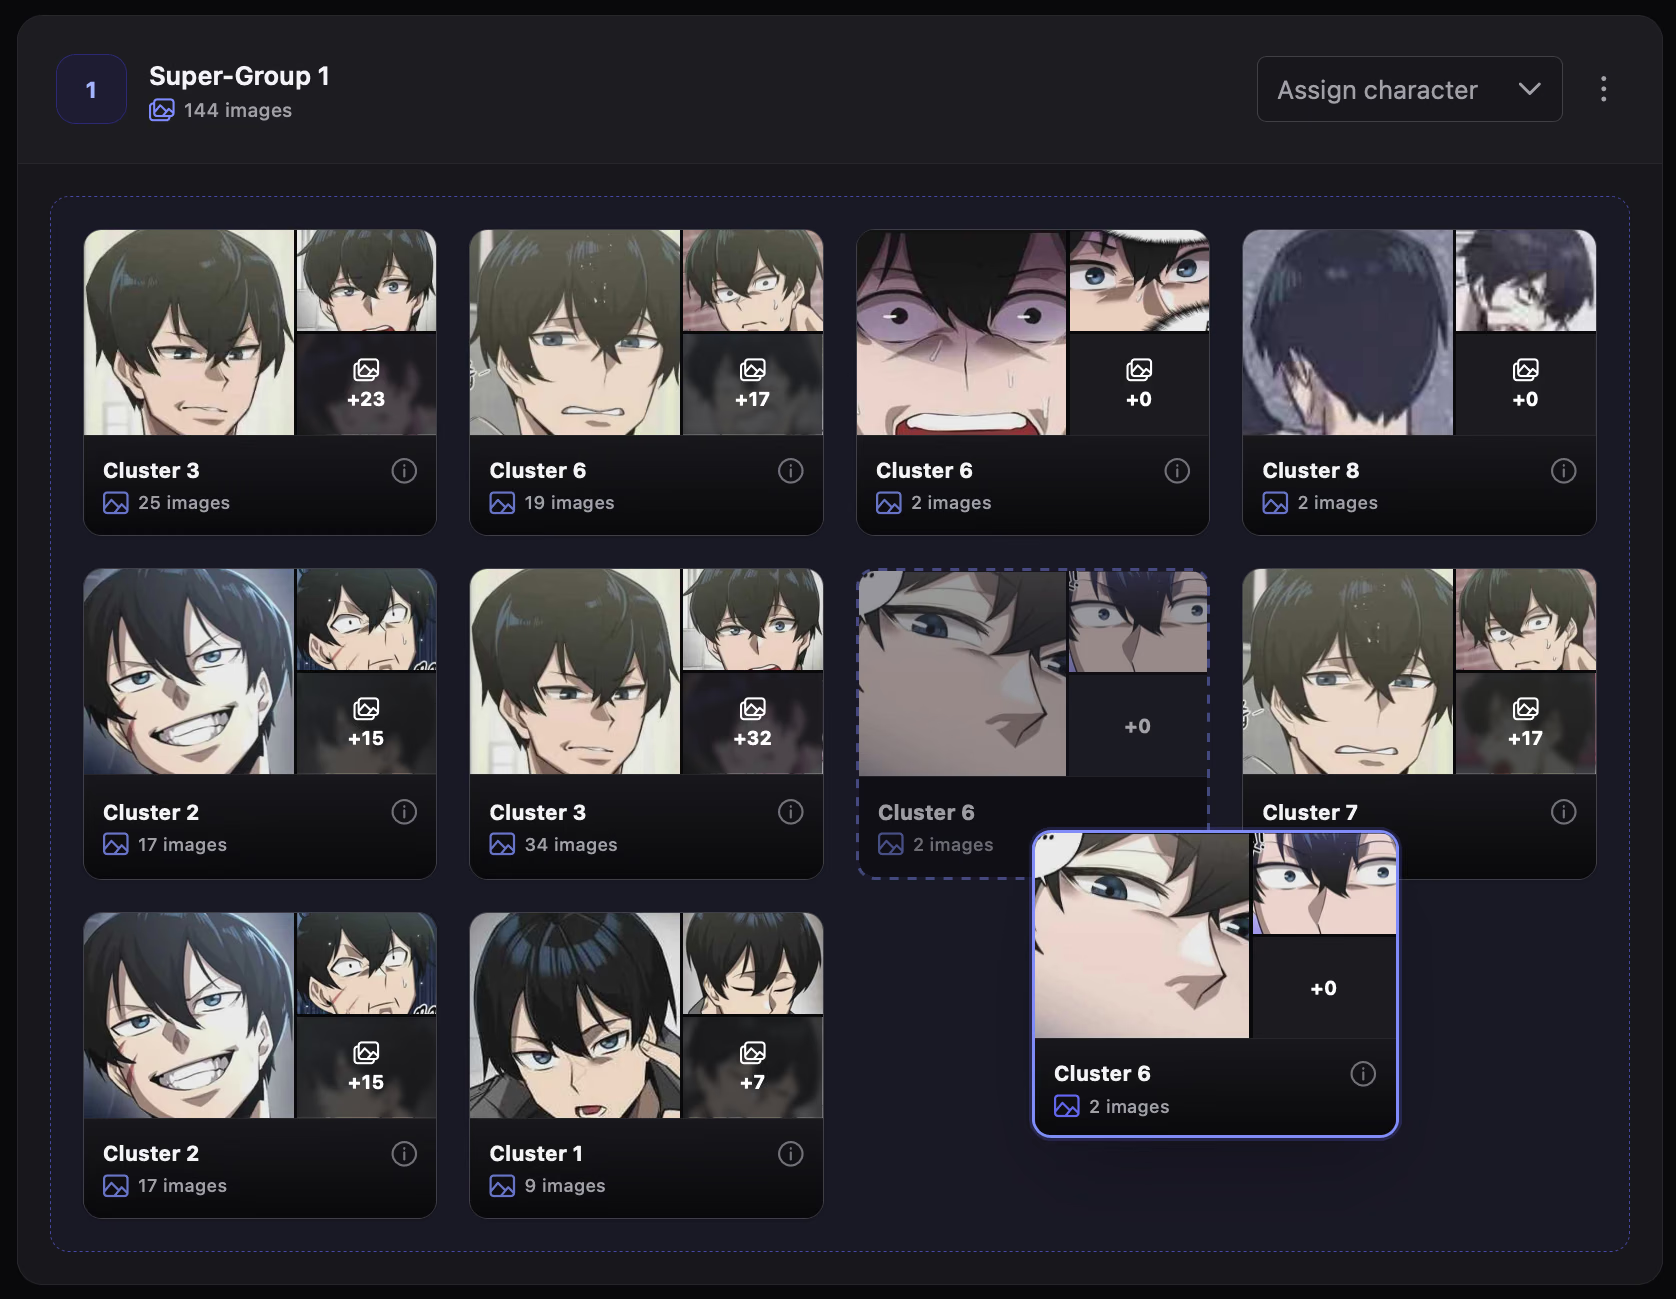
- 1Drag one cluster or reorder a group
Drag any chapter cluster card between Character Groups, reorder cards inside a group, or move a card to Unassigned. Moving the last cluster out of a Character Group removes the empty group automatically.
- 2Move several clusters at once
Tick the corner checkboxes on multiple cluster cards. Drag any checked card to move all selected clusters together, or open a Character Group’s ⋮ menu and click Put Selected Here.
- 3Turn selected clusters into standalone groups
Click Create One Standalone in the top bar to merge all checked clusters into one new Character Group. Or use Create Standalone inside the Unassigned ⋮ menu to turn each checked cluster into its own separate group.
Lock Character Groups to Protect Finished Characters
Section titled “Lock Character Groups to Protect Finished Characters”When a Character Group is accurate and you do not want it modified again, lock it:
- Lock one group: Open the Character Group’s ⋮ menu and click Lock Character (click Unlock Character anytime to edit it again).
- Lock or unlock all groups: Use Lock All / Unlock All in the top bar of the center panel.
Character Group & Unassigned Menus (⋮)
Section titled “Character Group & Unassigned Menus (⋮)”- Select All in Group / Deselect All: Check or uncheck every cluster inside this group.
- Put Selected Here: Move all currently checked clusters into this Character Group.
- Lock / Unlock Character: Freeze this group against manual edits and future AI runs.
- Create One Standalone (Top Bar): Merge all checked clusters into one new Character Group.
- Lock All / Unlock All (Top Bar): Lock or unlock every Character Group at once.
- Unassigned ⋮ → Select All / Deselect All: Check or uncheck every unassigned cluster.
- Unassigned ⋮ → Create Standalone: Give each checked unassigned cluster its own Character Group.
- Unassigned ⋮ → Remove Selected: Dissolve the selected chapter clusters and return their faces to chapter-level Unassigned.
4. Assign Characters & Continue
Section titled “4. Assign Characters & Continue”Once your Character Groups are organized, you can attach character names right here or let AI help extract them from dialogue:
Use the searchable Assign character dropdown on any group header to link a character profile. Need to add or edit characters first? Click the Users icon at the bottom of the left sidebar.
Not sure of every character’s name yet? Click AI Name Assignment at the bottom of the left sidebar to extract names from dialogue and match them to your Character Groups.